Masterclass: How to Add Pegboard Storage
This site contains affiliate links to products. We may receive commission for purchases made through these links. Price at time of publish date may change.
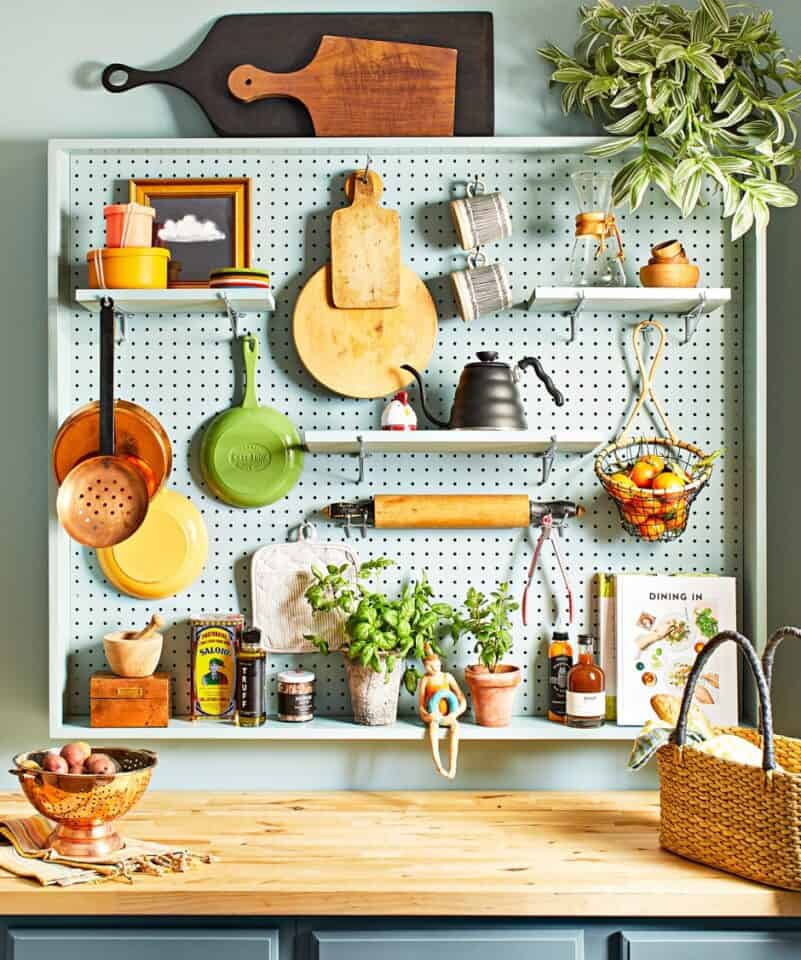
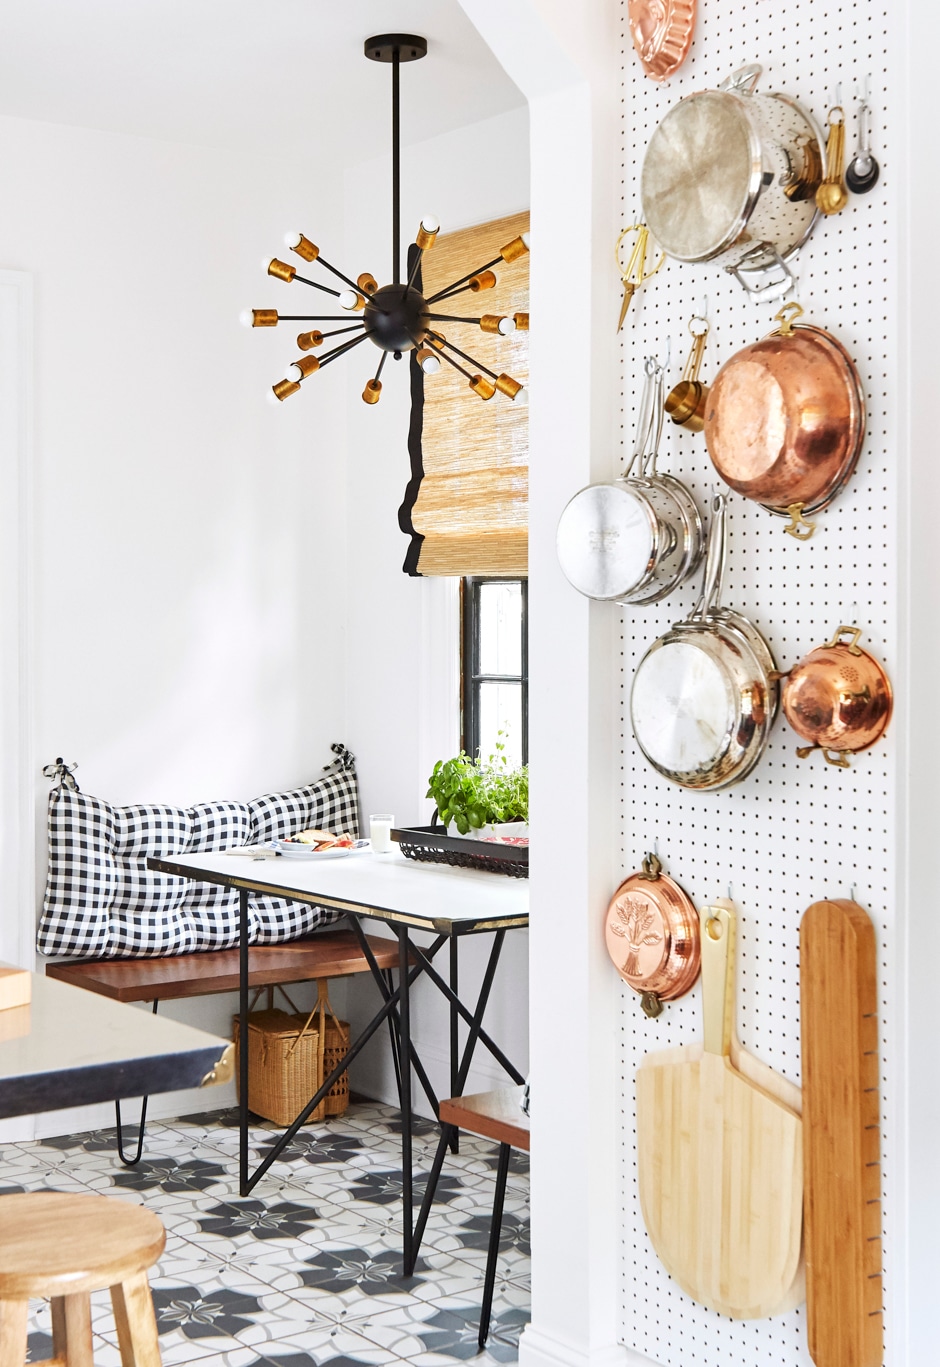
Julia Child had the right idea when she crafted her iconic pegboard wall in her kitchen. Cooking is truly a breeze when you keep your most-used kitchen gadgets and tools close at hand! This humble and hardworking material will help you maximize efficiency in your space, keeping your kitchen clean and organized. That way, you can spend more time cooking and less time trying to find your favorite pan in the back of the cabinet.
Yes, closed storage is a fantastic way to keep your space looking tidy. But displaying your items in a functional way makes organizing them look that much more interesting. Plus, by hanging your collection of pans, trivets, coffee mugs, or other supplies, your pegboard even doubles as a feature wall. You can hang artwork, display cookbooks, and style your pegboard exactly to your liking, so it looks and feels like your own. The options are endless! It’s a great way to get creative and make your space feel inspired.
What You’ll Need…
Pegboard Wall Planning
1. Map Out Where It’ll Best Fit and Be Useful
Every kitchen (and cook) is different. So take a careful look at your layout and think about where a pegboard makes most sense. Consider any barriers or high-traffic areas, as well as how you actually use the kitchen. Maybe you have a narrow sliver of wall that could be turned into a hardworking storage spot? Or a large blank space that could become a functional feature wall? You can even mount a pegboard on a refrigerator enclosure, above a sink, or as a backsplash to keep your items near your prep space.
2. Take Stock of Items You Plan to Hang
Also consider what you plan to hang on your pegboard. It can free up space in cabinets and drawers, but poor placement can sacrifice efficiency. For example, your copper pots and pans are beautiful on display, but they aren’t much help on the opposite side of the kitchen from the stove. Measuring cups, cutting boards, and utensils are most handy near your counter prep space, and mugs are useful near your coffee maker or tea kettle. Make your pegboard work with your space, not against it.
3. Plan Out Your Pegboard Wall Safely
The National Kitchen and Bath Association (NKBA) recommends the width of a walkway be at least 36 inches. As you plan the pegboard placement, make sure the items you hang are not impeding any walkways. The NKBA also recommends storing frequently used items 15 to 48 inches above the floor for accessibility. However, if you have little ones at home, you know you wouldn’t want to hang anything sharp, heavy, or breakable within reach. Also avoid hanging a pegboard directly above the stove—hanging items there could create a fire hazard or an unsafe reach across a hot stovetop.
4. Pick a Material That’s Best For Your Items
Standard pegboard panels made from hardboard are available at home-improvement stores in common sizes (such as 24×48, 48×48, 48×72, and 48×96 inches) and thicknesses (such as 3/16 inch or 1/4 inch). They’re usually available in white or a brown wood tone. You can also find panels in stronger materials, such as tempered wood, which cost more but can hold heavier items like heavy cast iron pans. Some even come in kits that include steel hanging hardware or wall spacers. Alternatively, you can mount the panels into wall studs and stabilize the top and bottom using 1×2-inch furring strips.
“Getting organized doesn’t have to be a stretch. With a properly spaced pegboard, everything will be in sight and within arm’s reach!”
—Drew
Hanging Basics
Once you’ve landed on a spot, use a tape measure to determine the right height and width.
1. Cut and Trim the Pegboard
If you need to trim your pegboard, use a level to mark a straight line on the panel with a pencil. Then cut using a circular saw. Always make sure to measure twice, and cut once. No saw in your tool kit? If you plan ahead, your home improvement store can cut the panel to your desired dimensions, if you ask nicely.
2. Locate and Mark the Wall Studs
Use a stud finder to locate the studs. Then, lightly mark them with a pencil.
3. Ensure Your Panel Will Be Stable
For easy hanging, use 2.5-inch wood screws to anchor horizontal 1×2-inch furring strips to the studs where you’d like the top and bottom edges of your pegboard to rest. If your panel is larger or you plan on hanging heavy items, secure vertical braces to the studs as needed for stabilization and support. The furring strips will also act as spacers to accommodate pegboard hardware.
BONUS TIP: Paint the furring strips the same color as the wall or your pegboards so they blend.
4. Prep, Prime, and Paint
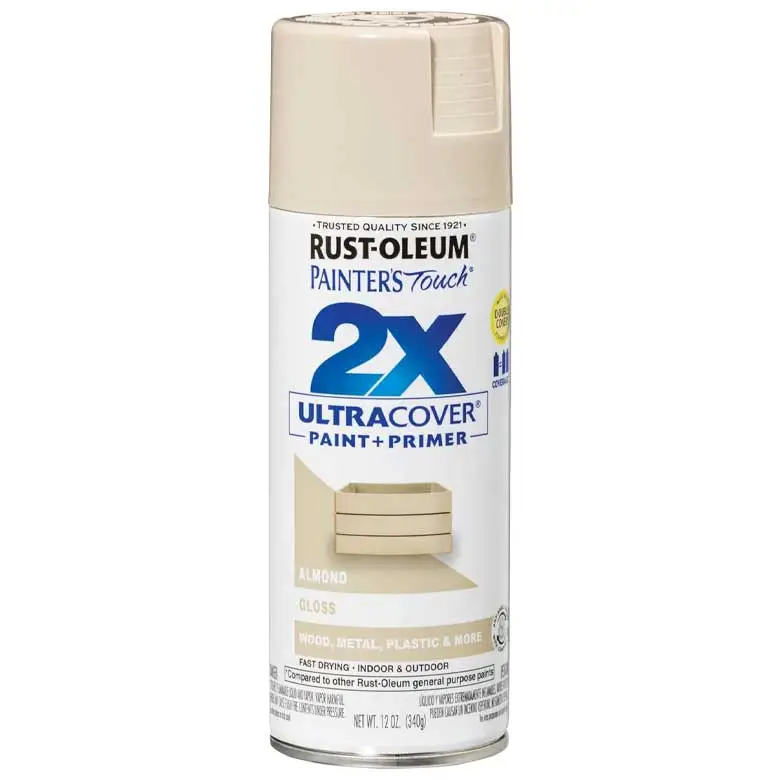
If you want to switch up the color of your pegboard panel, now is the time to prime and paint. First, apply a bonding primer. Once it’s dry, lightly sand with high-grit sandpaper and wipe away dust. Follow it up with paint, allowing drying time between coats. After the paint is fully dry, add a clear sealant to protect the material from moisture. We like using spray versions applied in light, even coats to get into all the crevices while avoiding drips.
5. Hang the Pegboard With a Partner’s Help
When the board is dry, recruit a partner to help you hang it. First, make sure it’s level. Then secure the pegboard to the furring strips using 2.5-inch wood screws and washers at each corner and through the vertical braces about every 12 inches or so.
6. Organize and Accessorize the Pegs
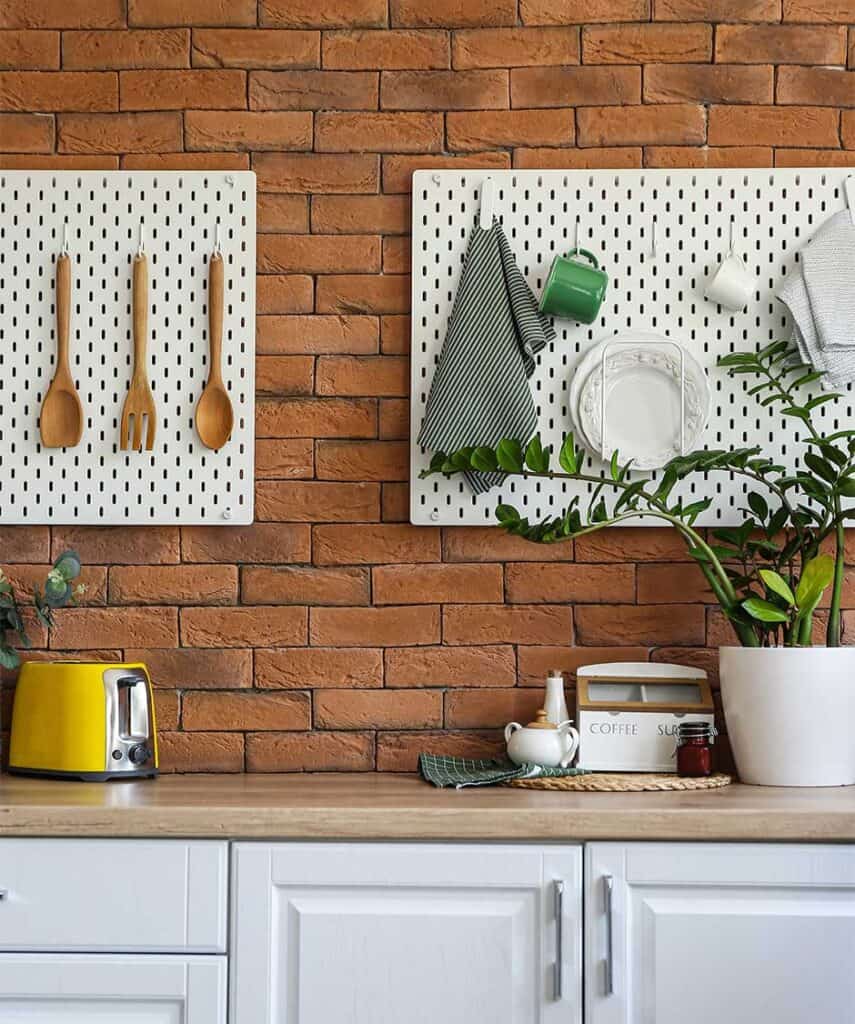
Trick out your pegboard with peg hooks and accessories that will help organize your items. This can include hooks, pegs, baskets, and more.
Have Fun With It!
Switch things up and put your individual spin on the traditional pegboard to spice things up. In the end, what matters most is that the board reflects your individuality and style.
1. Explore Different Materials
You can find all sorts of heavy-duty metal and acrylic pegboards in fun colors online. Great Jones sells a customizable steel pegboard wall set that comes in a variety of colors that you can mix and match, like blue, green, mustard, pink, and white.
2. Use Different Holes and Dowels to Modernize It
Pegboards with oversized holes made from plywood and dowels offer a modern take. You’ll find a great selection on Etsy, or you can even DIY your own. Julia Child traced the outlines of her kitchen tools onto her pegboard to ensure they always made it back to their correct spots. Follow her lead using a paint pen.
3. Get Crafty With Color
Consider color-coding sections of the panel or the peg hooks themselves to help you group like with like—for example, mugs, cooking utensils, baking supplies, etc. You can paint certain sections specific colors, or even color-block certain areas in the shape of your items.
4. Make It an Interesting Shape
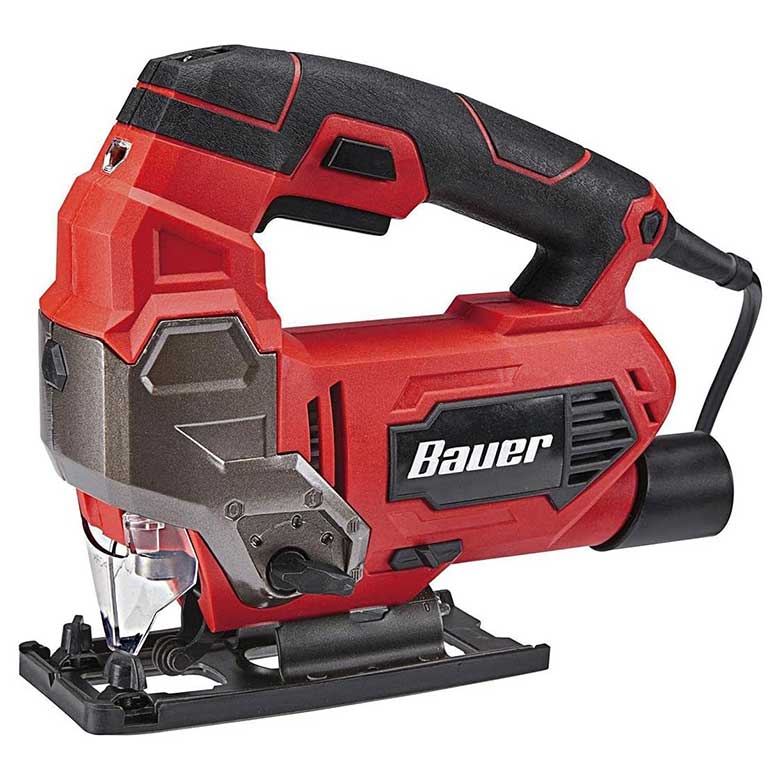
Does the traditional rectangle shape feel a little square in your space? Use a jigsaw to cut your pegboard panel into a more interesting shape, such as an arch or oval. This will also add architectural interest. Or instead, buy your pegboard pre-cut into a fun shape, like this gorgeous arch pegboard from Etsy.
Shop DIY Pegboard Wall Supplies
Great Kitchen Ideas to Inspire Your Next Makeover
We’ve cooked up some major kitchen inspiration.
Read MoreBy Drew & Jonathan | This article originally appeared in the Holiday 2022 issue of Drew + Jonathan Reveal, Drew & Jonathan’s home and lifestyle magazine.
