How to Properly Remove Wallpaper
This site contains affiliate links to products. We may receive commission for purchases made through these links. Price at time of publish date may change.
Are you ready to give your home a refresh but are looking for an easy project, rather than investing in all-new furniture or starting a big home reno? Or maybe you can’t stand the wallpaper that you’ve been staring at since you moved in and are ready to dive into something new? We totally get it—and if you’re looking for a change, your walls are a great place to start! They’re the backdrop to the room, and they have the potential to completely change the style of your space. But before you can get started creating something new, you have to get rid of the old. Knowing how to remove your old wallpaper properly is key to having the perfect blank canvas.
Whether you’re updating the powder room, reimagining your bedroom, or brightening up a den, a new wall motif could be the key to truly transforming your space. The task of removing old wallpaper might sound complicated or stressful—and while it’s definitely not simple—it’s actually much more accessible than you’d think. Keep reading for our step-by-step guide for how to remove wallpaper (the right way). And when you’re ready to put up your new wallpaper, we’ve got a guide for that, too!
What You’ll Need
- Drop cloths
- Safety goggles
- Painter’s tape
- Garbage bags
- Bucket of hot water
How to Remove Wallpaper
1. Identify Your Wall Type and Wallpaper Type
First thing’s first—identify what kind of wall you’re working with. It’ll be either plaster or drywall, most often. Drywall has most frequently been used in homes that have been built in the past 50 years are so, and is far more delicate than plaster. If this is the wall type you’re dealing with, be extra careful when using the scraping tool to remove the wallpaper so you don’t damage the wall beneath it.
Depending on the wallpaper you used, the removal process might look a little different. Removable wallpaper should peel off rather easily with a putty knife (or just your hands!); strippable wallpaper will soften easily when it’s soaked with hot water; and vinyl wallpaper will need a stronger method, like chemical wallpaper remover gel. This guide will show you the most commonly used method to remove traditional wallpaper, but be sure to double check your wallpaper instructions first to be sure you’re removing it correctly.
2. Prep and Protect Your Space
Like most home improvement projects, removing wallpaper can get messy. Before you get started actually removing the paper, protecting your space is essential. Clear out whatever furniture you can, then move the rest of it to the center of the room and cover it all with a tarp or drop cloth. Take photos and frames off of the walls, and spread a drop cloth on the floor below. Things are going to get a bit wet later on, so cover any exposed electrical outlets with painter’s tape for safety. Have a large garbage bag on hand for all of the pieces you remove, put on your safety goggles, and you’re ready to get to work!
3. Find an Edge to Start
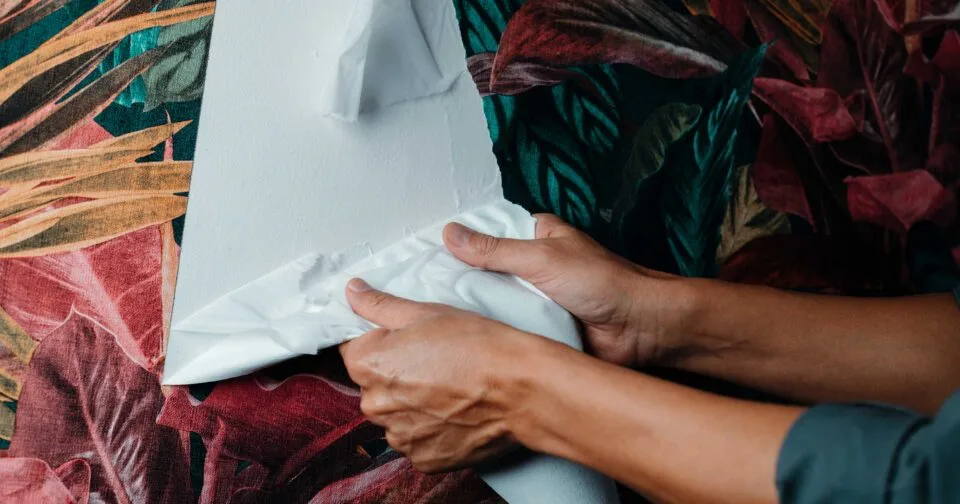
To begin, start by removing any pieces of the wallpaper that come off easily. The best way to find an easy starting point is by looking for a frayed edge and prying it up with a wallpaper scraping tool. Carefully peel the wallpaper backor use your scraper to guide the paper off of the wall. Throw large pieces of paper into your trash bag as you go.
4. Score, Wet, and Pry Stubborn Wallpaper
For wallpaper that is a bit more stubborn, you’re going to have to work a bit harder. Use a scoring tool to gently perforate sections of paper, then fill up a bucket with hot water and apply to the area with a sponge. The hot water will help loosen the adhesive. Let the water sit on the wallpaper for two to three minutes before you attempt to peel sections off the wall. Then, go over the area with your scraper, peeling back the wallpaper and gently prying again, and the paper should come off a bit easier.
5. Use a Solution to Dissolve the Glue
If you’re still having trouble areas that won’t budge, grab a bottle of wallpaper remover—it’s filled with a substance that’s specifically formulated to dissolve old glue. Spray your wall, wait as long as directed on the label (usually 20–30 minutes), and gently but firmly scrape away the last bits of wallpaper. *Note: Make sure to read the directions carefully and always do a patch test beforehand to ensure your walls aren’t damaged by the solution.
6. Wipe Down Any Residue On the Wall
You’ll likely now have residue from the wallpaper remover spray on your wall, so use a wet sponge to wipe it clean. Don’t bother taking the painter’s tape off of the outlets yet, though! You’re going to have to cover them up again when you’re ready to fill your bare wall with brand new wallpaper or a fresh coat of paint.
Frequently Asked Questions About Wallpaper Removal
What is the quickest way to remove old wallpaper?
Doing something correctly takes time, especially with home projects! So no matter your approach, removing your old wallpaper is never going to be a quick undertaking. That said, we recommend the method outlined above as the most straightforward way to get the job done. However, if time is a factor, it’s best to hire a professional. Even more fun? Enlist a couple of friends to help, and make a day of it instead!
Can I paint over wallpaper?
While you definitely can paint over wallpaper, in most cases, we don’t recommend it. Different wallpaper textures adhere differently to paint, which can cause an uneven look that could appear sloppy and unprofessional. That said, if you think there’s no way your wallpaper is going to come off without a serious fight, painting over it instead of removing it could be the path of least resistance. Consult with a professional first if you have any concerns.
How do I remove wallpaper glue or paste?
Wallpaper removal gel is made for this specific purpose, but it’s not your only option. As an alternative, mix up either 1/4 liquid fabric softener and 3/4 hot water, or 1/3 distilled white vinegar and 2/3 hot water in a spray bottle or utility bucket. Apply your concoction with a spray bottle or sponge, and let it sit for 15 minutes or so before scraping. Steamers are yet another way to go, and if you don’t want to invest in one just yet, you can likely rent one from your local home improvement center or hardware store.
Now, Time to Pick Out a New Roll!
Make Your Room Pop With Scott Living Wallpaper
Refresh your walls—and cabinets, bookshelves, and more.
Read More
