How to DIY Better Beach Chairs

This site contains affiliate links to products. We may receive commission for purchases made through these links. Price at time of publish date may change.
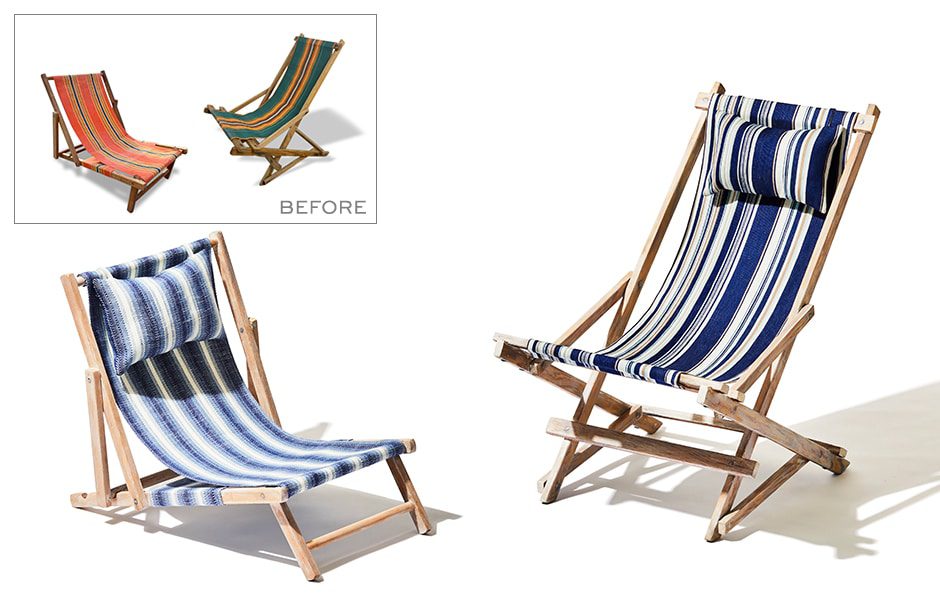
Sunny days are here again, which means there’s plenty more time for backyard barbecues, pool days, or just some much-needed R&R on the deck. Make your beach days or backyard hangs even better by updating some old folding chairs! In this summertime DIY, we take some worn out folding chairs and turn them into your new favorite lounge in just a few simple steps.
These beauties look store-bought, but you can DIY these beach chairs in a just a few hours, which will leave you plenty of time for lounging. So grab your old chairs, pick a fresh fabric, and set aside an afternoon to get a new-to-you summer seat in no time. Oh, and if you’re looking for some more projects to try out this summer, check out our bean bag toss and bike planter guides. Pretty soon, you’ll have your backyard going from drab to DIY-fab!
What You’ll Need
- Old folding chair
- Needle nose pliers
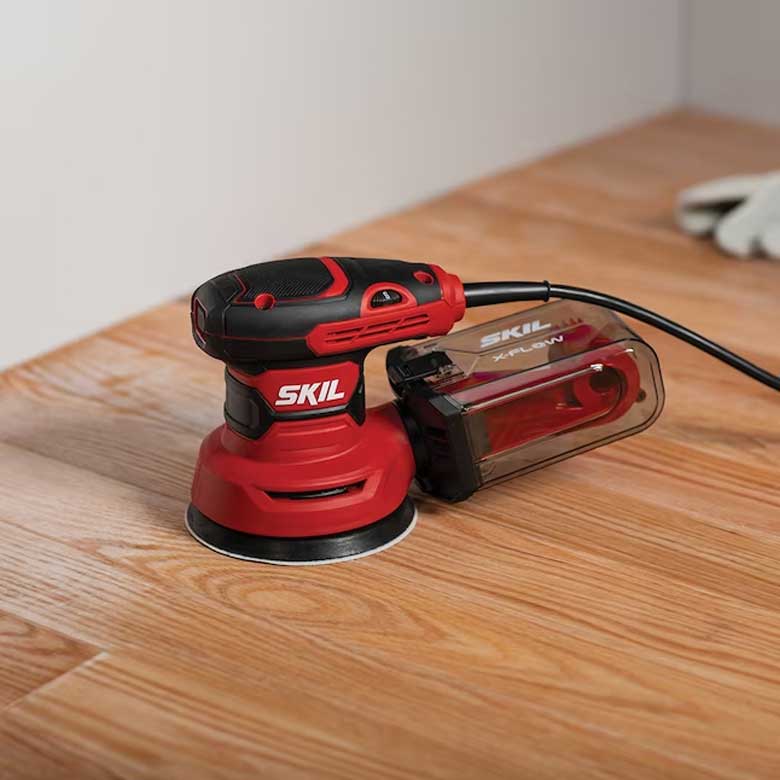
- Orbital sander
- Sanding discs (#80–#120)
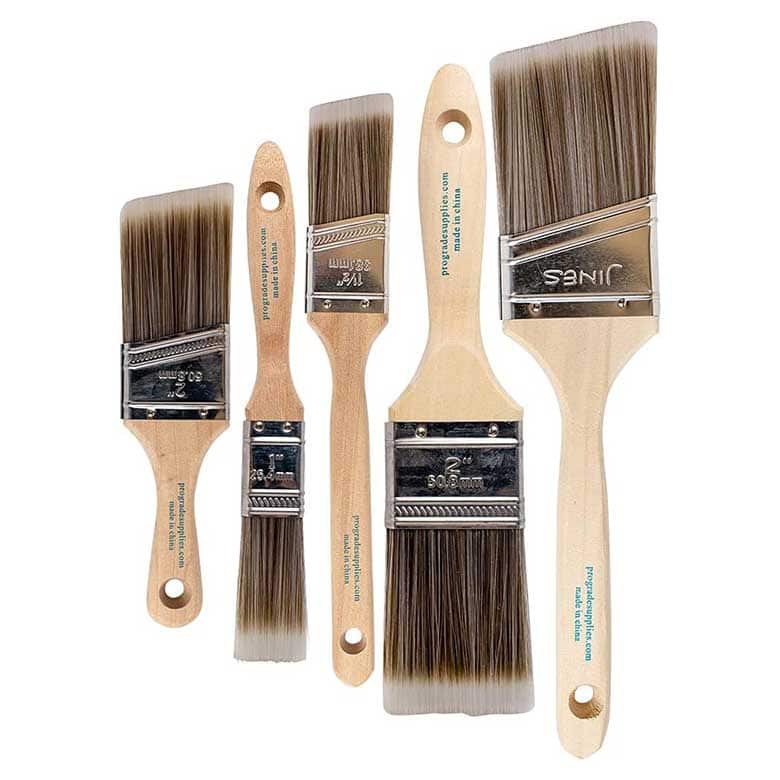
- Paintbrush
- Pre-stain wood conditioner
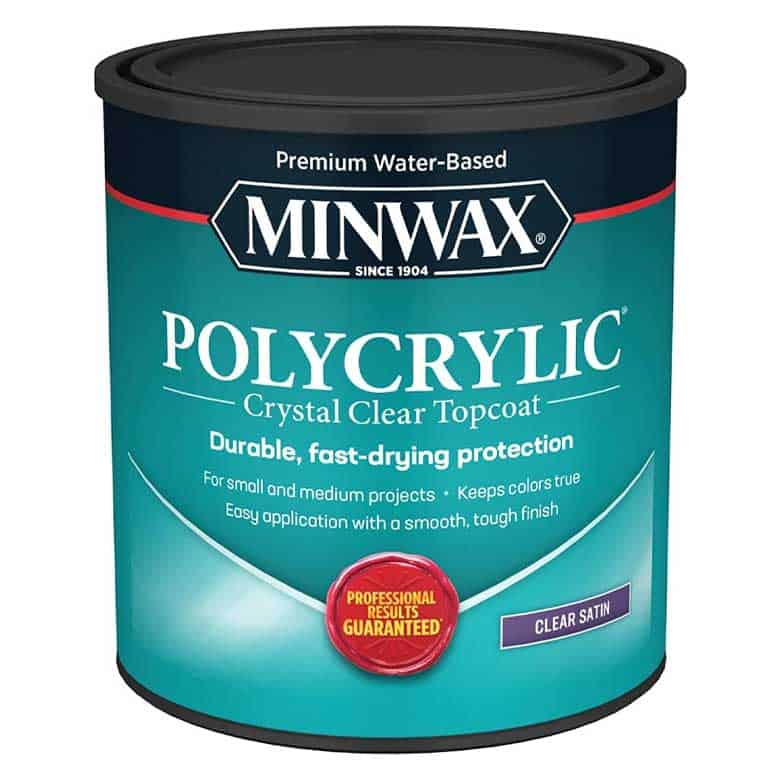
- Pickling stain (We used MINWAX)
- Water-based polycrylic
- Outdoor fabric
- Sewing machine
- Thread that matches your fabric
- Safety pins for hemming
- Fabric scissors
- Heavy duty stapler
- 1/2-inch staples
- Iron and ironing board
- Fiberfill (pillow stuffing)
Instructions
1. Remove Old Fabric
Carefully remove the fabric from your chair. If it’s attached using staples, use needle nose pliers to work the staples loose. Save the pieces of fabric as dimension guides for your new fabric.
2. Sand and Treat With a Pre-Stain Conditioner
Sand the wooden structure. Start with a coarse #80 sandpaper and work your way up to a fine #120 sandpaper. We used an orbital sander as much as possible and then did detail work by hand. Be sure to move the structure into different positions to make sure you sand as much surface as possible. Then, brush on a pre-stain wood conditioner to help promote an even finish. Let dry, then lightly sand again.
3. Brush On Pickling Stain and Polycrylic
Apply your pickling stain one side and section of wood at a time, and gently wipe it off while it’s still wet, working with the grain. If the wood isn’t quite white enough after one coat, repeat the process until you reach your desired tone. Move the structure into different positions to ensure you stain all areas. After it’s dried, brush on a water-based polycrylic to seal the chair. Let dry.
4. Mark, Cut, and Sew Your New Fabric
Lay the seat fabric you removed from the chair onto your new outdoor fabric to use as a pattern sizing guide. Lightly mark your new fabric with the correct dimensions and use fabric scissors to cut down to size. If your new fabric will need to be hemmed along the edges, leave about 1/2 inch to 5/8 inches for folding over and hemming. Zig-zag stitch along all raw edges of the cut pieces. Press and pin the hems, then stitch using a straight stitch.
5. Staple Fabric To the Frame
Using a heavy-duty stapler and 1/2-inch staples, staple one end of the fabric to the chair frame where it was previously attached. Staple the other end of the fabric to the crossbar on the opposite end of the frame. Use the same method if your chair has a second piece of fabric.
6. Make the Pillow Straps
Cut a piece of fabric 1.5 x 24 inches. Lay the strip on your ironing board face-down. Fold the long edges on each side to the center and press them. Fold the strip in half again, then press and pin it. Straight stitch down the center of the strap, then cut it in half vertically so you have two 12-inch lengths.
7. Make the Pillows
Measure the width of your chair sling and cut two rectangles of fabric, the width of your sling by 10 inches, and pin around the edges. Pin the two pillow straps about 1.5–2 inches from the edge of what will be the top side of the pillow. Line up the cut end of the strap with the cut edge of the pillow. Straight stitch around the pillow using a 5/8-inch seam allowance and leaving about a 5-inch opening at the bottom of the pillow for stuffing.
8. Stuff and Attach the Pillows
Now, stuff the pillow with fiberfill until it’s full. Turn the raw edges of the opening inside and pin the pillow closed. Stitch the opening shut. Then, hold the pillow up to your chair to find your desired hanging height. Trim the straps accordingly, then staple them to the back underside of your chair’s top rung, where you stapled the sling.
9. Get Lounging!
Enjoy your hard-earned work and test out your new DIY beach chairs. Grab a glass of lemonade and admire your fabulous new seating.
Shop Must-Have Materials
Ultimate Guide to Summer
Get our best decor ideas, shopping recommendations, travel tips, and more!
SUMMER FUN!
