How to Clean a Fridge

This site contains affiliate links to products. We may receive commission for purchases made through these links. Price at time of publish date may change.
One of the most daunting kitchen tasks has to be the dreaded fridge clean-out. Not only does this job require you to get into lots of nooks and crannies to remove crumbs, mold, and bacteria, but you are also under a bit of a time crunch. After all, the longer you take to clean, the warmer your perishables will get. Whether you’ve been putting off this task for way too long or just need a refresher on how to clean a fridge, we’re here to walk you through it.
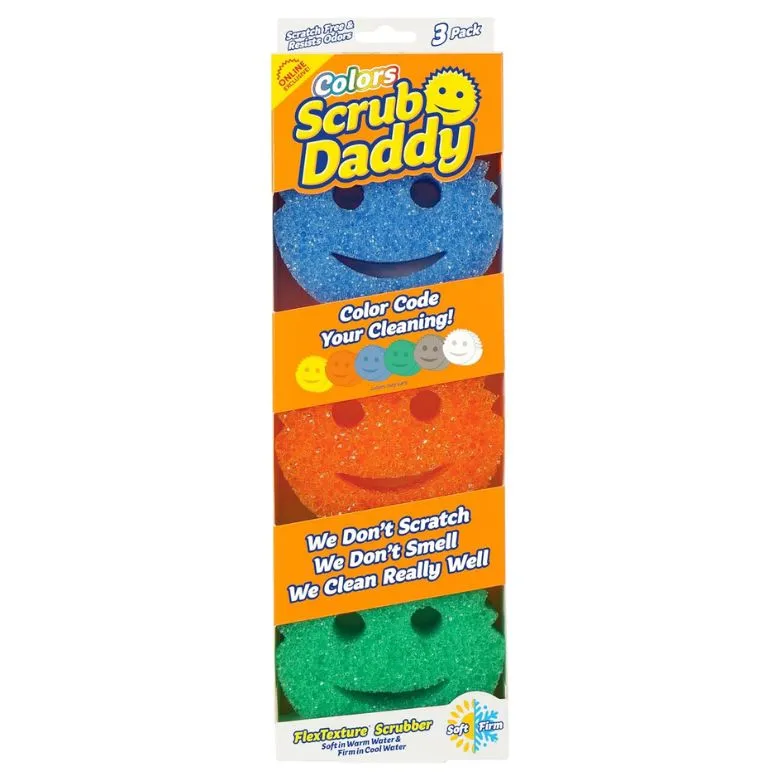
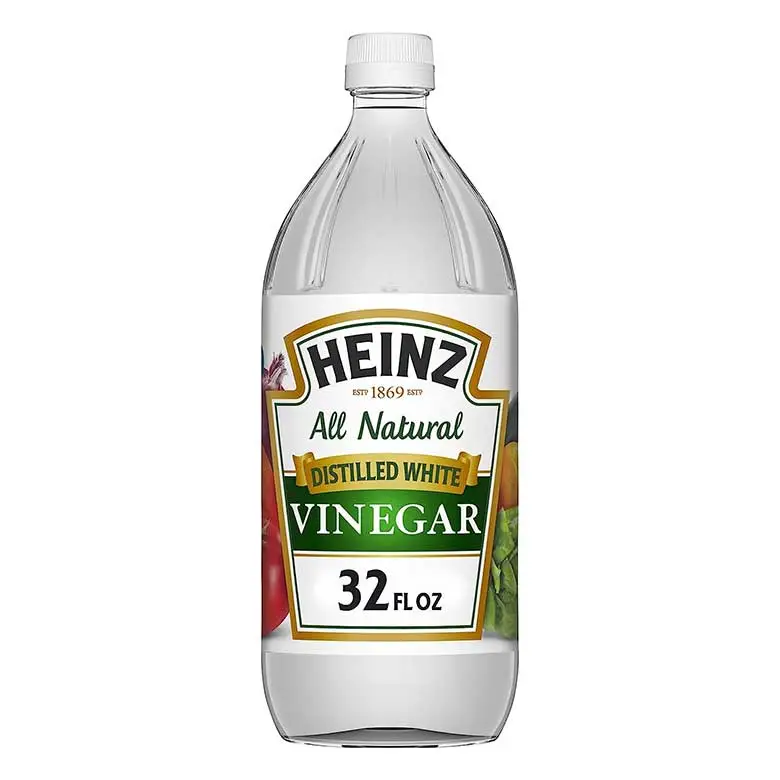
The great news? Cleaning your refrigerator doesn’t require any specialty products or elaborate tools. In fact, all you’ll need is a sponge, some dishtowels, a toothbrush, all-purpose cleaner, white vinegar or a bleach-based cleanser, and dish soap. (A quick note: as a substitute for warm, soapy water, you can instead mix one part baking soda with seven parts warm water.) Our easy-to-follow, step-by-step instructions will keep your fridge smelling good and looking clean.
1. First, Empty the Fridge
Take all of your items out of the fridge and place them on the counter or tabletop until the cleaning is finished. (If you have a cooler you can use to temporarily store everything, that’s even better, but it’s certainly not necessary.) As you’re taking items out, check expiration dates and toss anything that’s past its prime into the trash or compost, and clean out any containers that can be recycled before throwing them in the recycling bin. This is also a great time to assess the state of your leftovers (and reclaim all the food storage containers they’ve been hogging for way too long).
2. Remove the Shelves and Drawers
Take out the drawers, shelves, racks, and any other removable parts, and scrub them in the sink using warm soapy water. Now that the fridge is completely empty, you can use warm, soapy water and a towel or sponge to wash the walls, floor, and other interior fridge surfaces. Don’t forget the butter compartment, egg cups, and other specialty areas. (If a piece doesn’t come out easily, don’t force it. Instead, consult your owner’s manual or leave it where it is.) Use a wet towel to wash away the soap, and dry everything with a fresh towel or dishcloth, or let them air-dry completely.
3. Don’t Forget the Gaskets
Now that the interior of your fridge is clean, it’s time to focus on the gaskets—aka the rubber seals that ensure everything stays cold and keeps unwanted pests from getting inside. The tight crevices in your gaskets are notorious for breeding mold, so you’ll want to give this step of the process a little extra attention. Grab an old toothbrush, take a first pass with soapy water, and follow up by completing the same process with a bleach-based cleaner or a mixture of equal parts white vinegar and water.
4. Fill It Back Up
Slide all of the newly washed pieces that you removed back into place so that you can put your food back where it belongs. As you replace your jars, bottles, bags, and other containers into the fridge, give each item a quick once-over with a towel and soapy water, and make sure all the items are dry when you put them inside. Then, stand back and take in the joy of a sparkling-clean, fresh-smelling refrigerator.
5. Now, Onto the Exterior
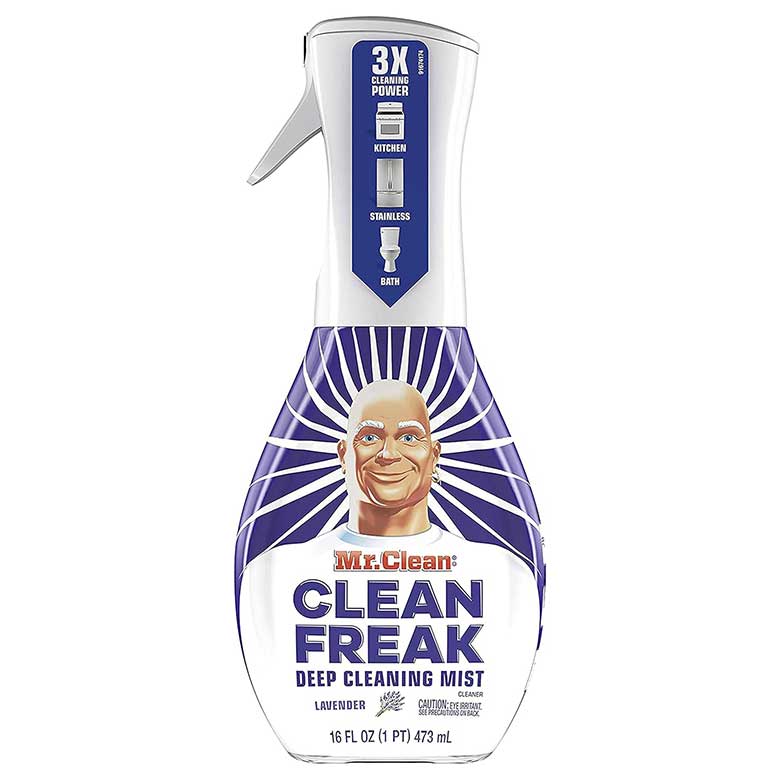
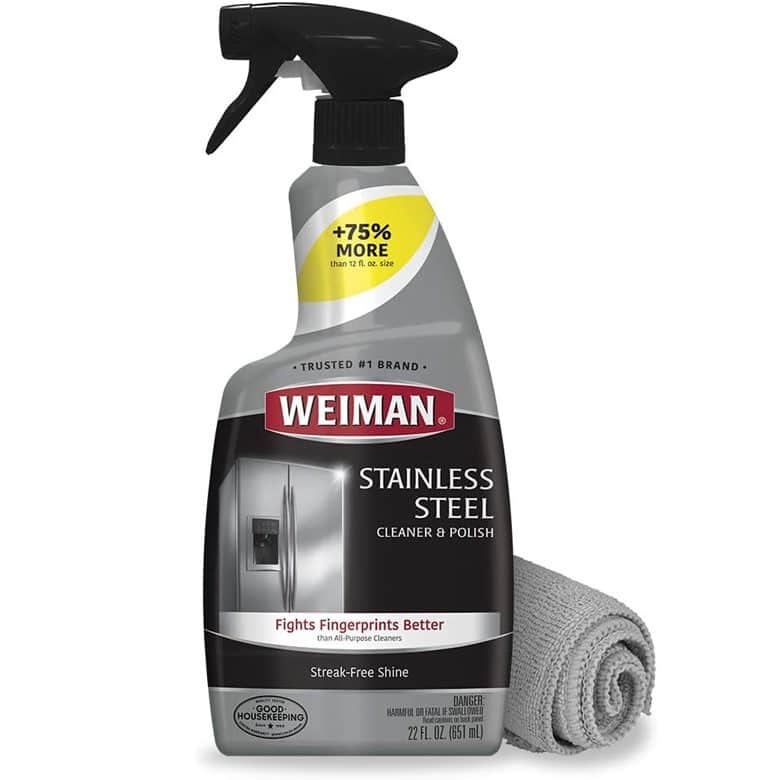
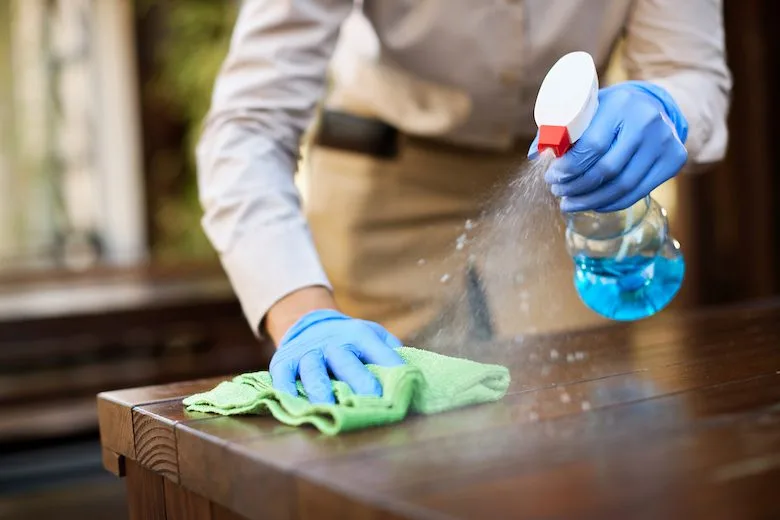
Think about how many times the dirty hands in your household touch the handles and exterior surfaces of your fridge. In a word: yuck. But don’t worry—combatting germs and bacteria on the outside is easy. Once every day or two, just spray it down with an all-purpose or anti-bacterial cleaner, and dry with a towel. If you have a stainless steel fridge, make sure you’re using a cleaner that’s non-abrasive or specifically made for stainless steel.
6. How to Keep Your Fridge Fresh
To maintain a fantastic-smelling fridge all the time, the age-old trick of keeping an open container of baking soda inside is a great way to go. Just make sure to change it out every three months or so. Alternatively, you can buy a natural air freshener that uses activated charcoal to keep odors at bay. Simply stick it or place it inside of the refrigerator, and follow the directions on the package to make sure you’re getting the most out of the product.
These High-Rated All-Purpose Cleaners Get the Job Done
They’re the perfect thing for a versatile clean in any room of the house.
Read More