How to Construct the Ultimate Indoor Pillow Fort

This site contains affiliate links to products. We may receive commission for purchases made through these links. Price at time of publish date may change.
For movie marathons and cozy family game nights, we love snuggling up in our favorite pajamas, making fun snacks, and sharing quality time together. It doesn’t matter if it’s a lazy Sunday evening or a holiday weekend—when it comes to hosting living room parties and sleepovers with friends, there are some classic components that you just can’t go without. One of those tried-and-true must-haves? A pillow fort! Kids, teens, and parents alike all love turning blankets and throw pillows into a fortress. But we want to show you how to take your indoor pillow fort to the next level.
Plush pillows, stuffies, and warm blankets are a must, but how and where you build your indoor fort is also important. You want to make sure your mini-palace is as comfortable as possible for your little ones (and you!), which means using the correct supports, setting up the best lighting, and draping your sheets and blankets just right. If there’s one thing we’ll never outgrow, it’s building a pillow fort for the perfect cozy hideaway. That’s why we’re walking you through the steps to make yours magical.
Safety First
As you’re gathering up your building materials and drafting your blueprint, make sure you’re taking safety precautions every step of the way. That means incorporating furniture that won’t topple over, using only lightweight materials for the roof, clearing the entire area of fragile decor, and allowing enough space for clear exits.
Have a Solid Foundation
Set up your fort in the corner of a room, taking advantage of the two walls—and maybe even the ceiling!—then build out from there. Not sure which walls to use? If your fort is primarily for napping or hiding away, steer clear of windows; if it’s more for daydreaming or drawing, opt for walls with access to natural light. Incorporating the sturdiest furniture in the room as anchor points (like sofas, dining tables, and bunk beds) is another way to ensure a solid foundation.
Up Your Draping Game
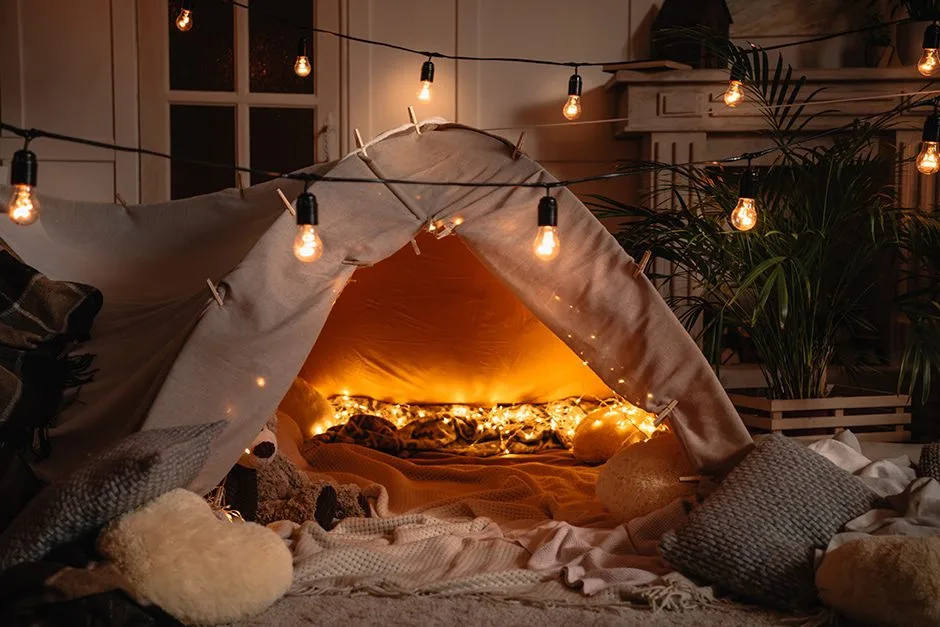
Once you know where you’re building, start draping bedsheets, lightweight blankets, and beach towels over nearby pieces of furniture or even up the walls. (To go up the walls, twist up one corner of a regular bedsheet, tie it up with string or a rubber band, and hang it on a hook.) If any part of the roof starts sagging, add support in the form of a chair or other tall-ish piece of furniture.
Repurpose Household Objects
Part of the fun of building forts is getting creative with items you already have on hand! Dig into your junk drawer and craft supplies for adhesive hooks, binder clips, safety pins, clothespins, string, painter’s tape, and other connectors. Stack up some hardcover books or photo albums to hold down sheets. And if you want build a passageway to connect separate areas of your fort, try these two ideas: Open both ends of a large, tall, and sturdy cardboard box and set it on its side, or stand up several hula hoops in a row, secure them to the floor and wall with tape, and toss a sheet over them.
Be a Softie
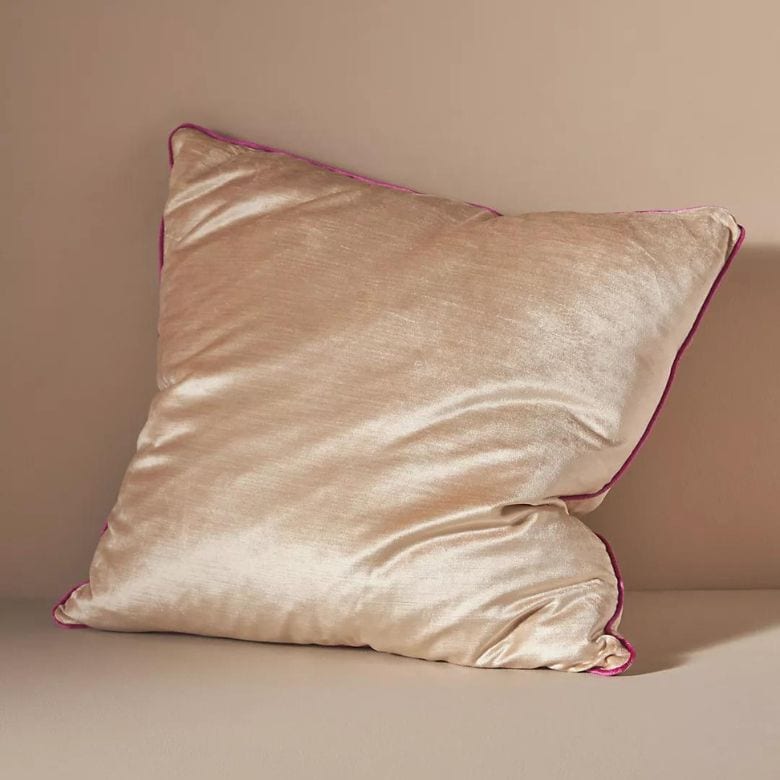
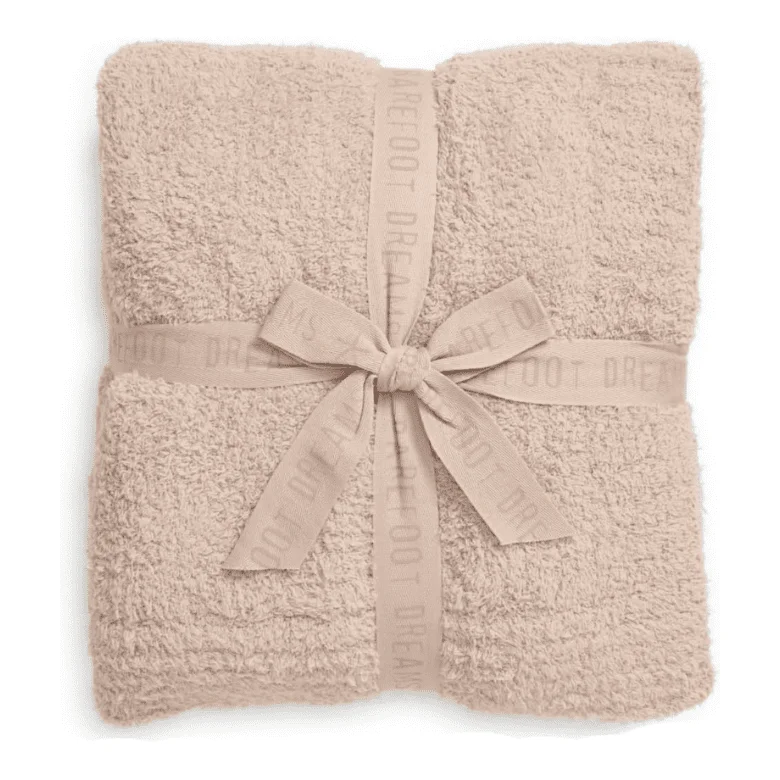
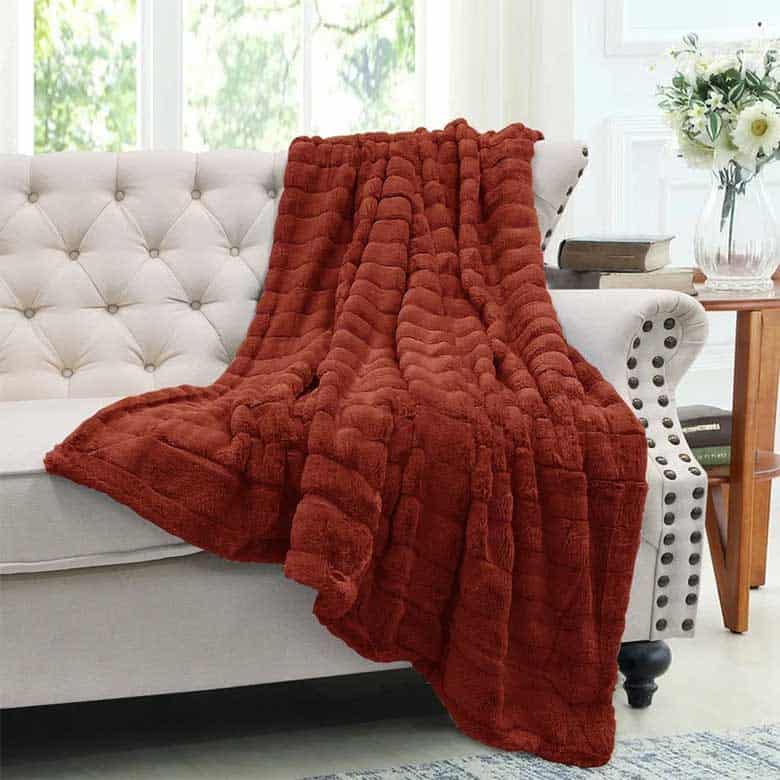
The interior design should be full of the softest fabrics you own. Bust out your plushest blankets, throws, sleeping bags, pillows, cushions, and rugs and layer them on the floor to create a comfy cocoon. Don’t forget a few blankets for you and your guests to curl up in—oh, and maybe your fleece-lined slippers—after you move in.
Let There Be Light!
Even if you intend on using your fort strictly for dozing off, you’ll need some kind of light source. Depending on your needs, add string lights, a reading lamp, flashlights, battery-operated candles, or glow sticks. Make sure you avoid flame candles and anything else with an open fire.
Don’t Forget In-Fort Entertainment
Better to bring in too many activities than to have to return to the outside world once you’re all settled in. Gather up your drawing and writing supplies, books, deck of cards, your smartphone or tablet, magazines, board games, drinks (with lids!), snacks, and a small trash bag. Also important: a charger for each device.
Finish with Exterior Decor
Just like a house, a fort is not complete without putting some thought and personality into the exterior. Want visitors? Display a handmade “Welcome” sign or makeshift doormat. Determined to get some alone time? Get your point across with a “No Trespassing” sign or a stuffed animal to keep guard over your kingdom.
