How to DIY Your Old Toolbox Into a Fun Plant Shelf
This site contains affiliate links to products. We may receive commission for purchases made through these links. Price at time of publish date may change.
There’s plenty of do-it-yourself projects to try around the house—bean bag toss boards, a garden planter, a new mirror frame…the list goes on! But if you’re looking for a simple, creative DIY to tackle over the weekend, then you’ll love our guide to DIY a plant shelf from an old toolbox. Not only is it easy to follow, but it’s also a great project to do with kids. So next time you’re wondering what to do on a Saturday afternoon, tap into your creative side and try out this idea for the garage or kids’ room.
Plants and flowers make your home feel cozier and breathe some life into your space. After all, who doesn’t feel happier with a little pop of color? With this easy DIY project, you can craft an interesting new space to house small houseplants, plant cuttings, flowers, and cute knick-knacks. The best part about projects like these is that you can make them look however you like—so lean into that creativity! Paint it with contrasting colors, cool designs, or even embellish it with details like vintage knobs and drawer pulls. Now, let’s get into the steps to make your plant shelf masterpiece:
1. Shop It (If Need Be)
If you don’t already have an old toolbox laying around, look for a wooden toolbox with a structure similar to the one we chose. You can find vintage versions on Etsy or Facebook Marketplace or in your local thrift stores. Or instead, you can buy them new at hardware stores like Lowe’s.
2. Pick Out Fun Pots
Before breaking out any tools, find a couple of tapered pots that are an inch smaller than the depth of the surface they’ll be recessing into. Since your planters won’t be sitting on a surface with a saucer, make sure you choose ones without drainage holes, so you can water your plants without having to remove them.
3. Cut It Out
Turn your toolbox on its side so that it’s oriented in the same way you’ll be hanging it. Take your tapered planters and center them, rim down, on the surface where you plan on having them recess. Trace the rim, remove the pots, then trace a circle about 1/8 inch inside the other circle and drill a hole inside the new circle using a bit that’s larger than the width of your jigsaw blade. Insert your jigsaw blade through the drilled hole and cut out the inner circle.
“Usually we’d want our toolbox to be full of tools, but this plant-astic refresh is the next best thing!”
—Drew
4. Paint and Mount
Lightly sand the cut edges and any imperfections, then prime and paint (we used Valspar Subtle Peach) your toolbox. To mount it, locate studs in your wall using a stud finder, level your shelf on the wall, and screw it into the studs. Can’t find any studs? Make sure you use wall anchors to safely and securely keep your shelf in place.
5. Place Your Plants
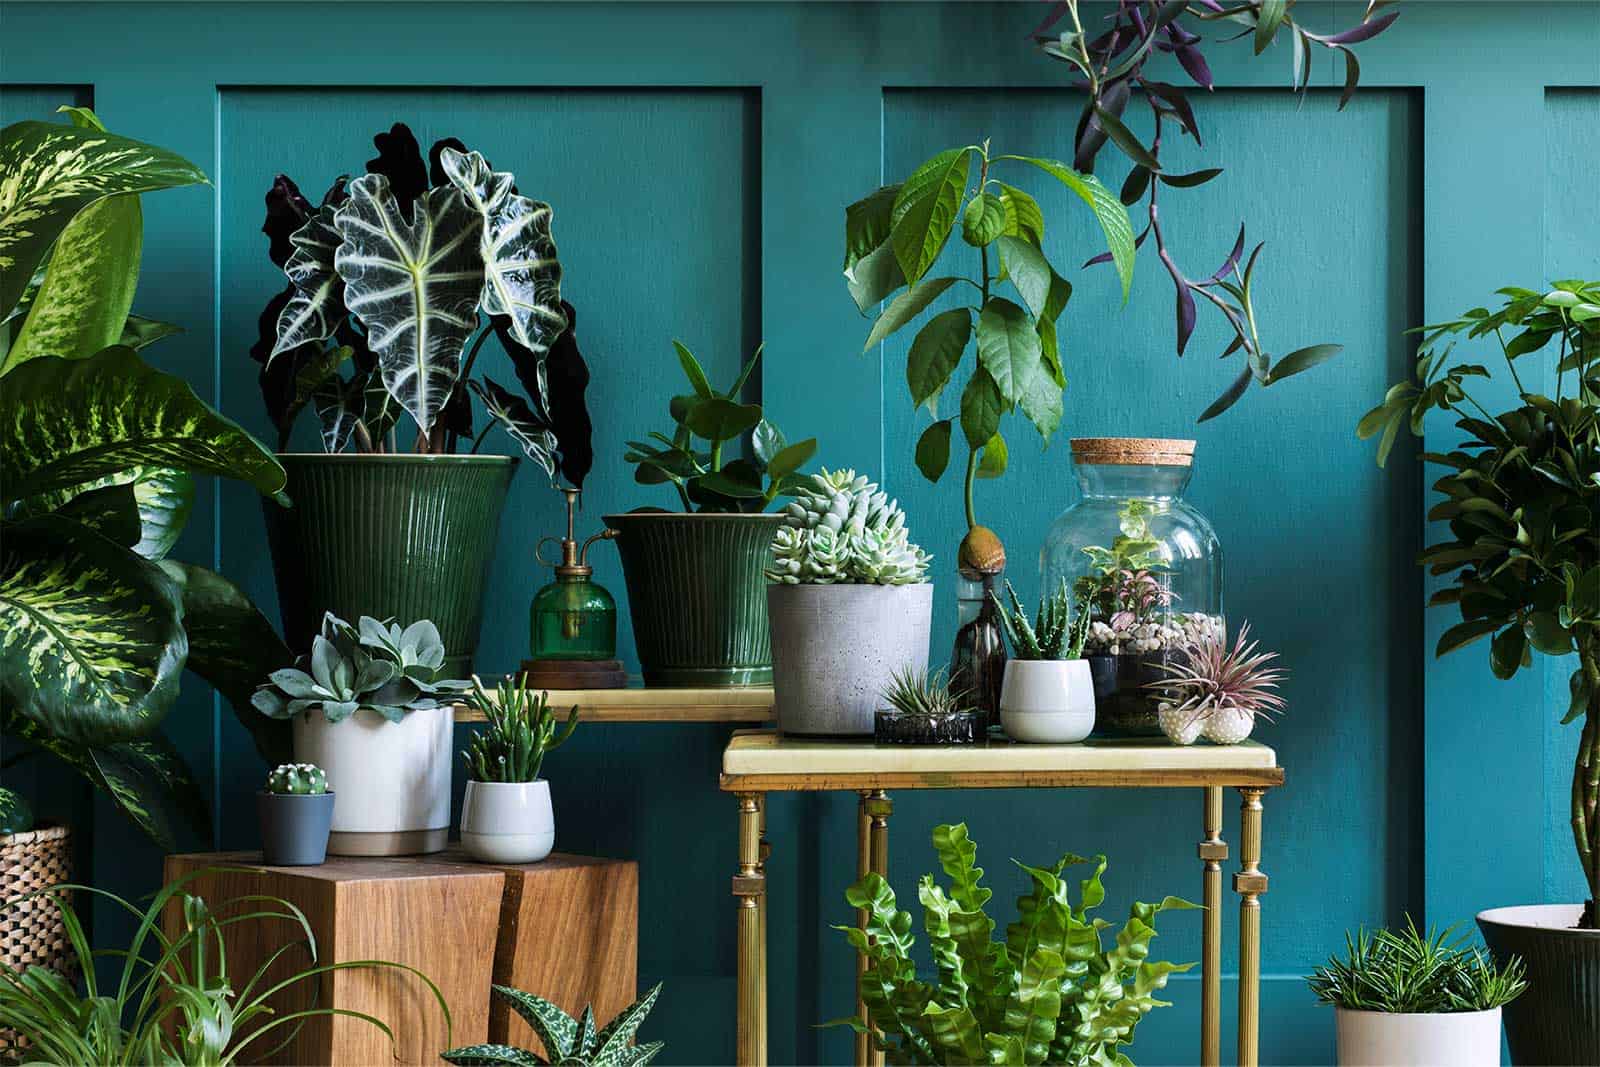
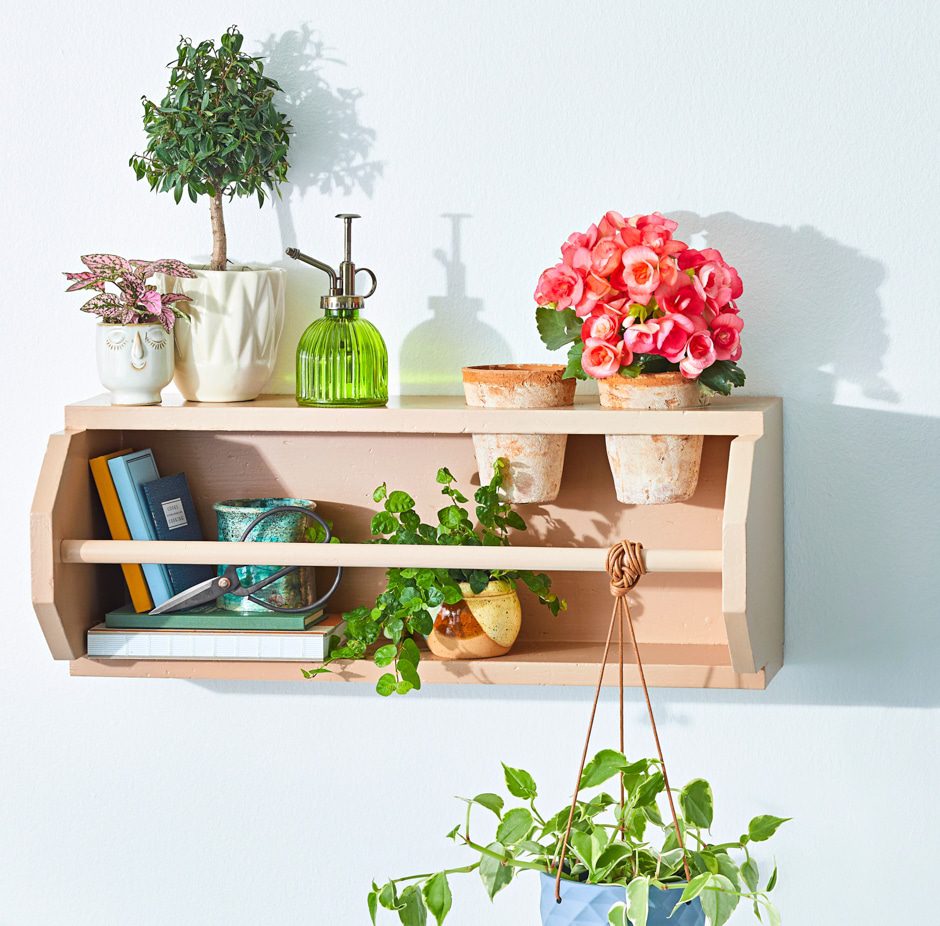
Once you’ve secured your shelf to the wall, recess your pots into the cut holes with the plants already in them. Play around with the rest of the shelf space and add plants and accessories, like scissors for trimming dead foliage and a mister to keep your plant babies hydrated. The bar in the center is perfect for hanging plants, and if your shelf is mounted high enough, a trailing plant will make a statement! Round things out by adding pretty objects like a patterned tin or footed bowl so you have some variation and added interest.
DIY Plant Shelf Before & After
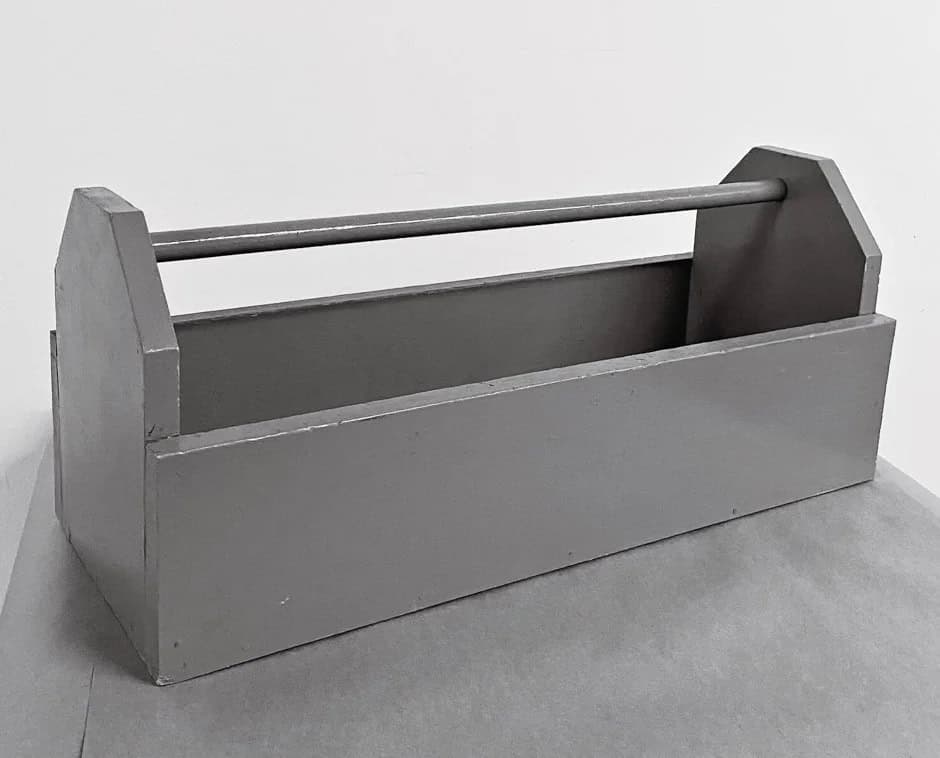
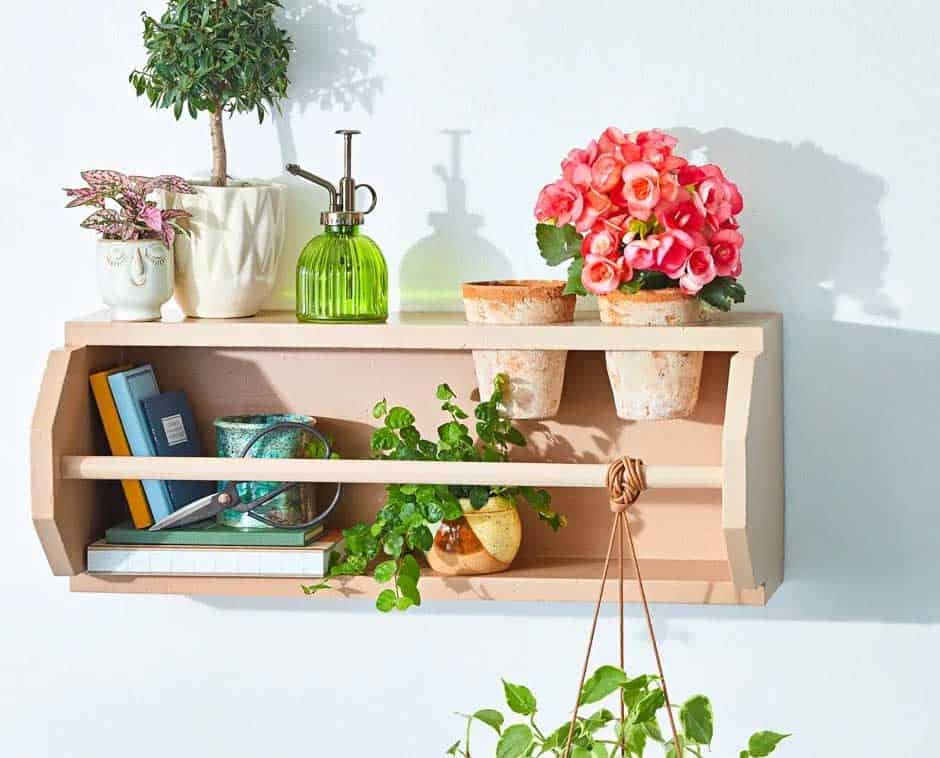
This simple toolbox was the perfect size to mount and house petite plants and indoor gardening accessories.
Shop DIY Plant Shelf Necessities
By Hannah Baker | Photograph by Carson Downing | DIY design and before photo by Jeni Wright

